Where should blush go for a lifted look?
Place the strongest color point higher and slightly outward, then blend inward softly. Keep the lower cheek clean so the color route travels upward rather than pulling the face down.
A lifted cheek is a direction decision. Product choice matters because texture and tool size decide how controlled the color looks.
“Place color to guide the eye upward, not wider across the cheek.”
VELIO keeps the lesson attached to the mirror experience, then returns one face-aware Color Story and one practical route. It remains non-diagnostic.
Free first read · Non-diagnostic · Use what you own first
Blush looks pretty in color but makes the face look wider.
The cheek looks lower after blending than before.
Adding more blush makes the look heavier, not fresher.
The color edge is hard to control with a large brush.
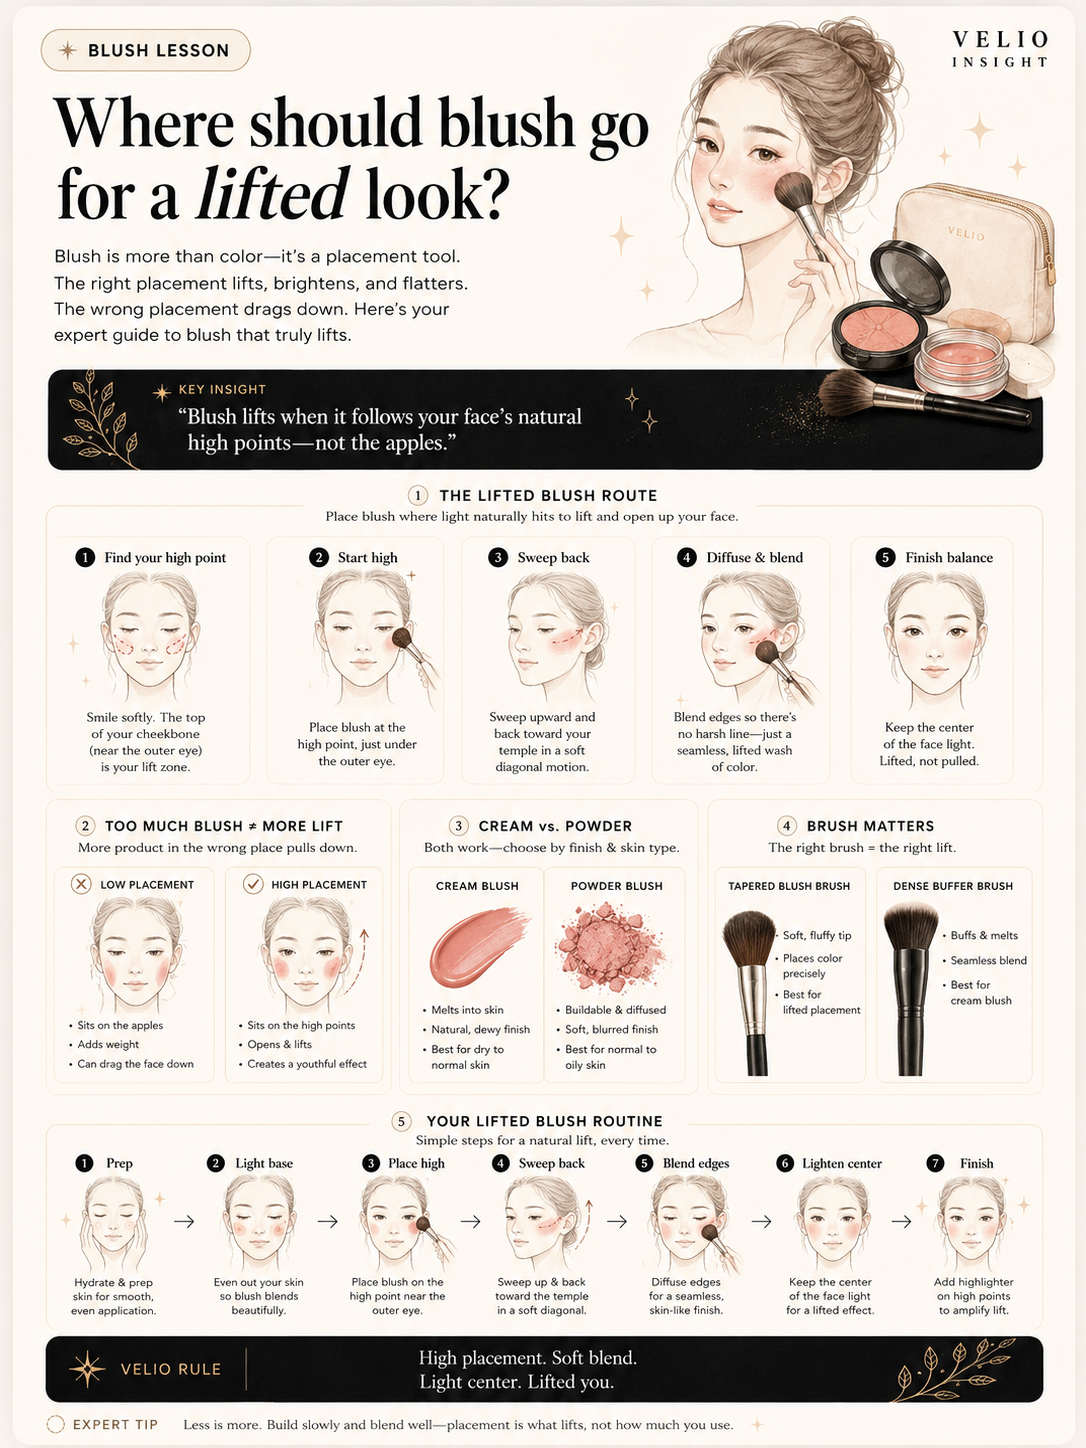
The placement route decides whether blush lifts, widens, or pulls the face downward. Product family and tool size help keep the route controlled.
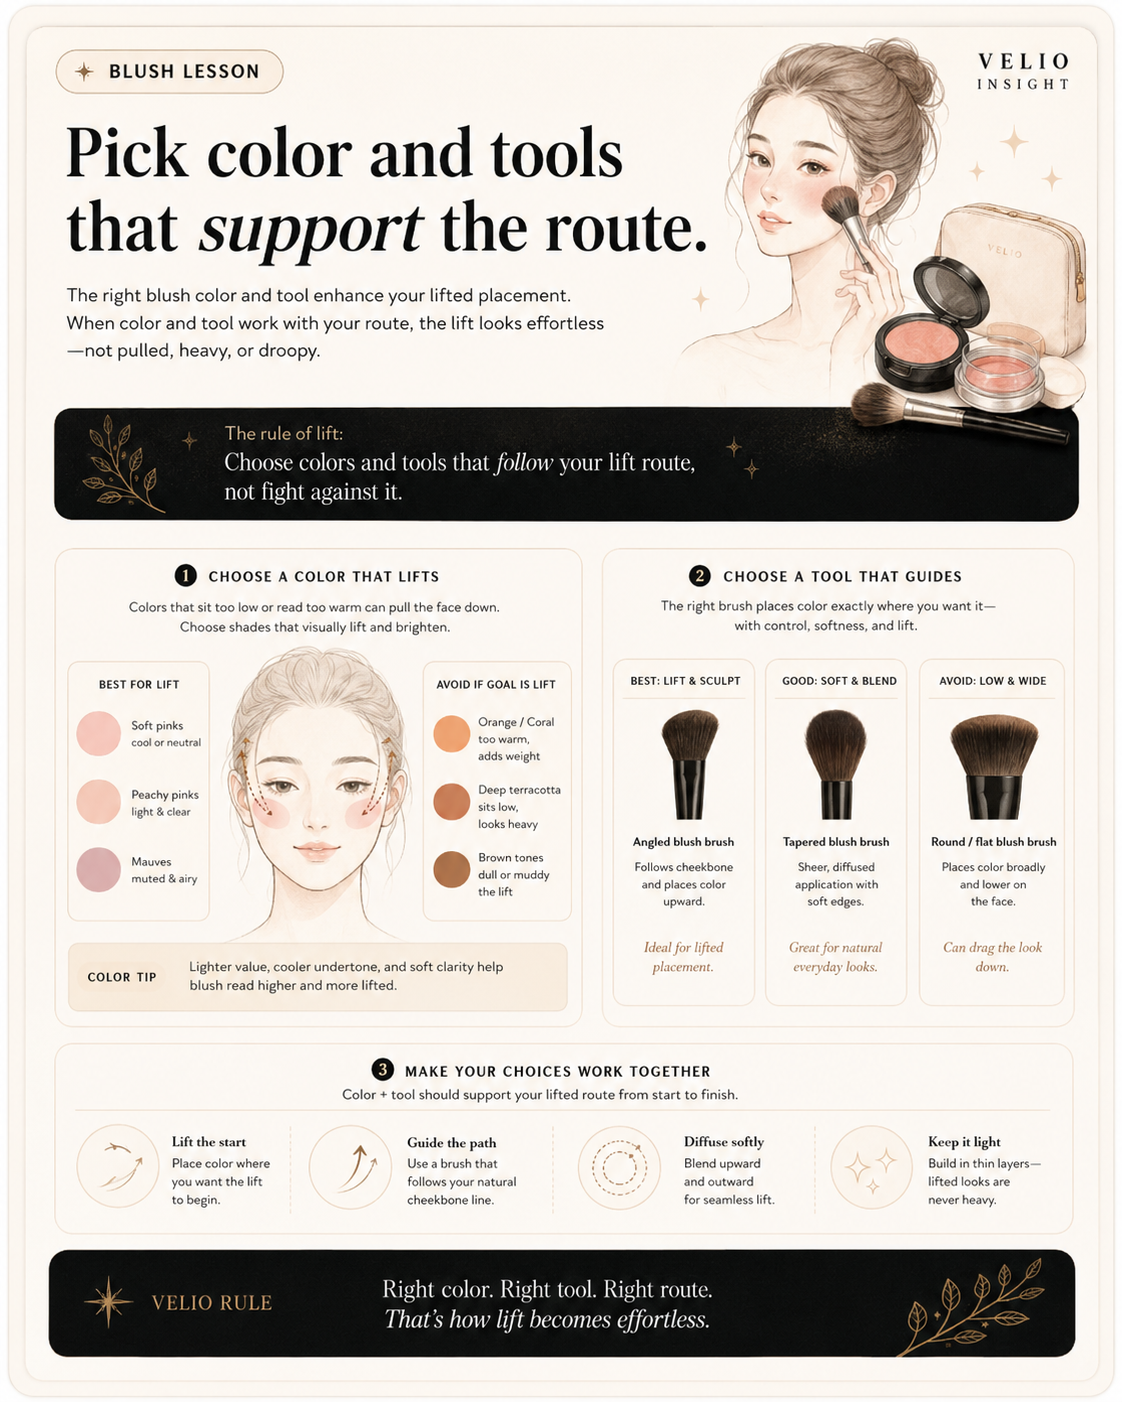
A higher, outward blush route guides the eye upward before more color is added.
When blush sits too low or spreads too wide, the face can look fuller rather than lifted. The problem is not the color alone; it is the direction the color creates.
A lifted look starts with the route. The product family only helps if it keeps that route clean.
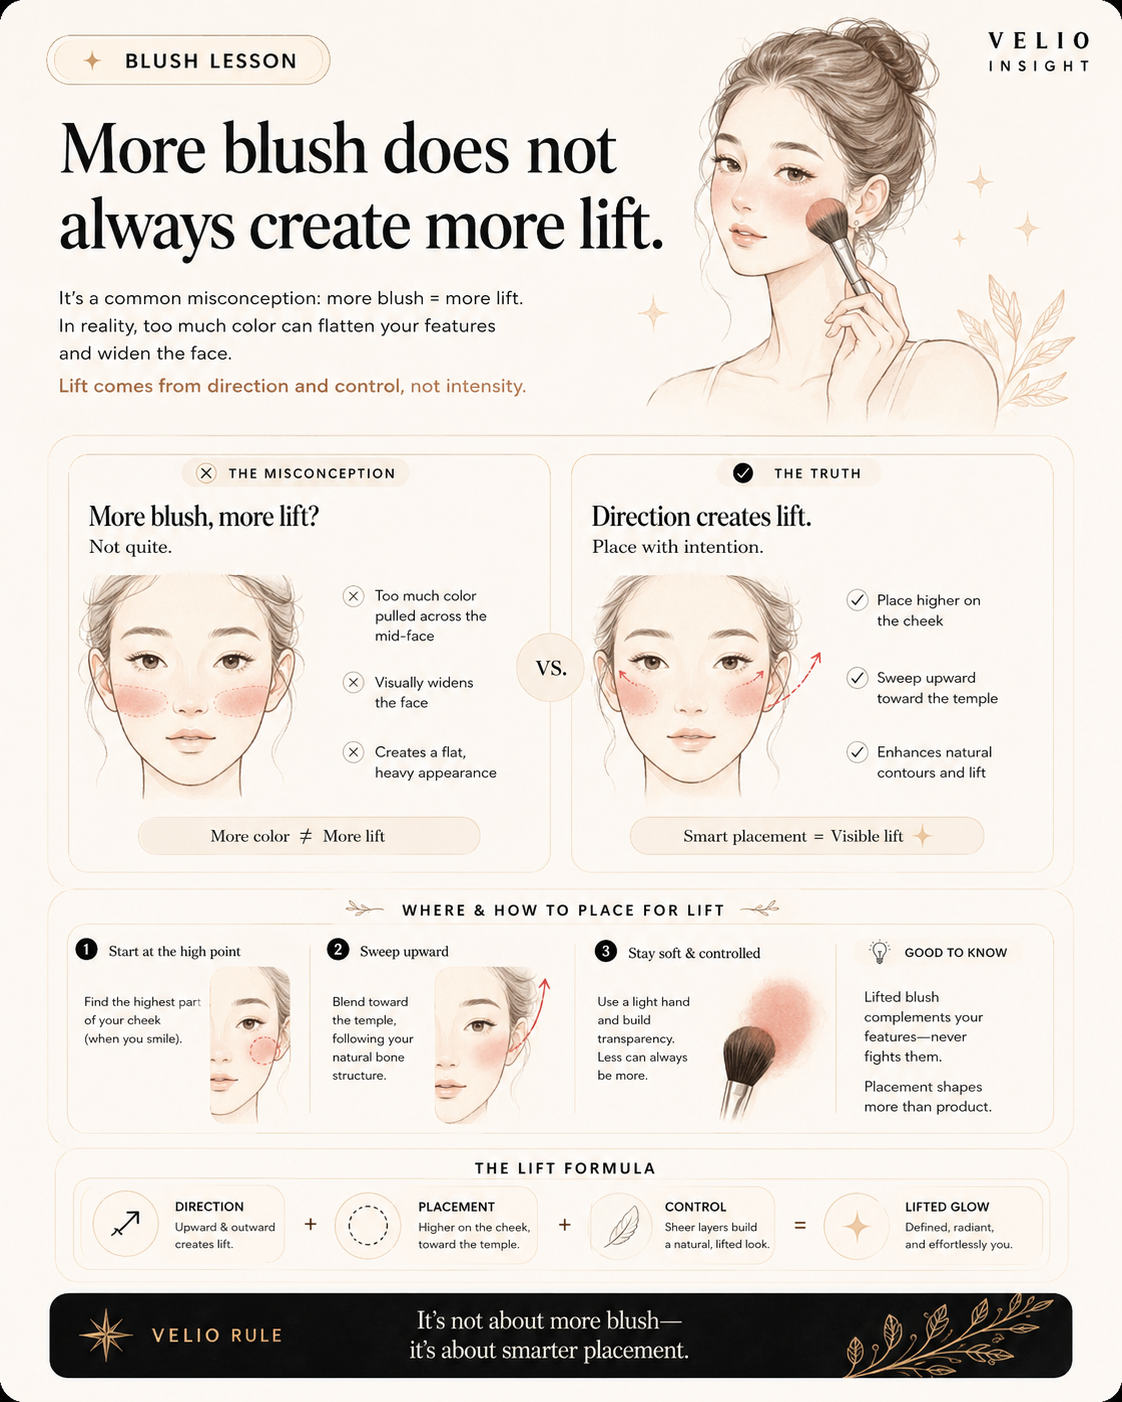
A higher, outward blush route guides the eye upward before more color is added.
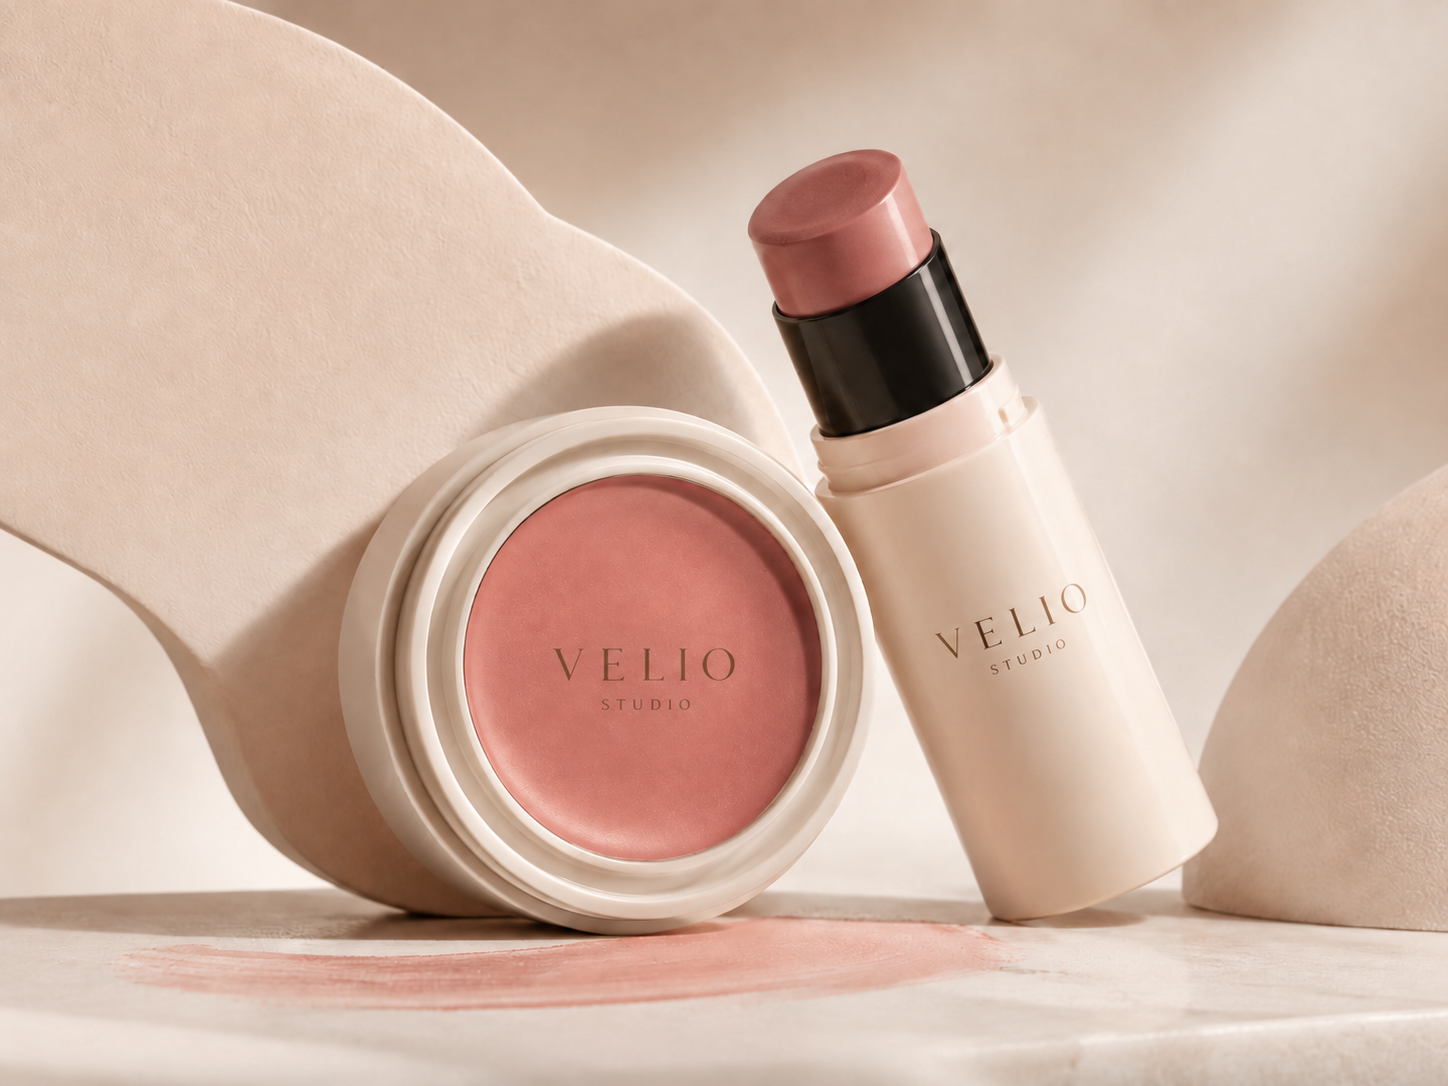
Cream color is useful because it can look like it belongs to the skin instead of sitting as a separate powder layer. That makes it easier to keep the cheek fresh while controlling placement.
The goal is not a wet or shiny cheek every time. The goal is a flexible color edge that does not drag the face downward.
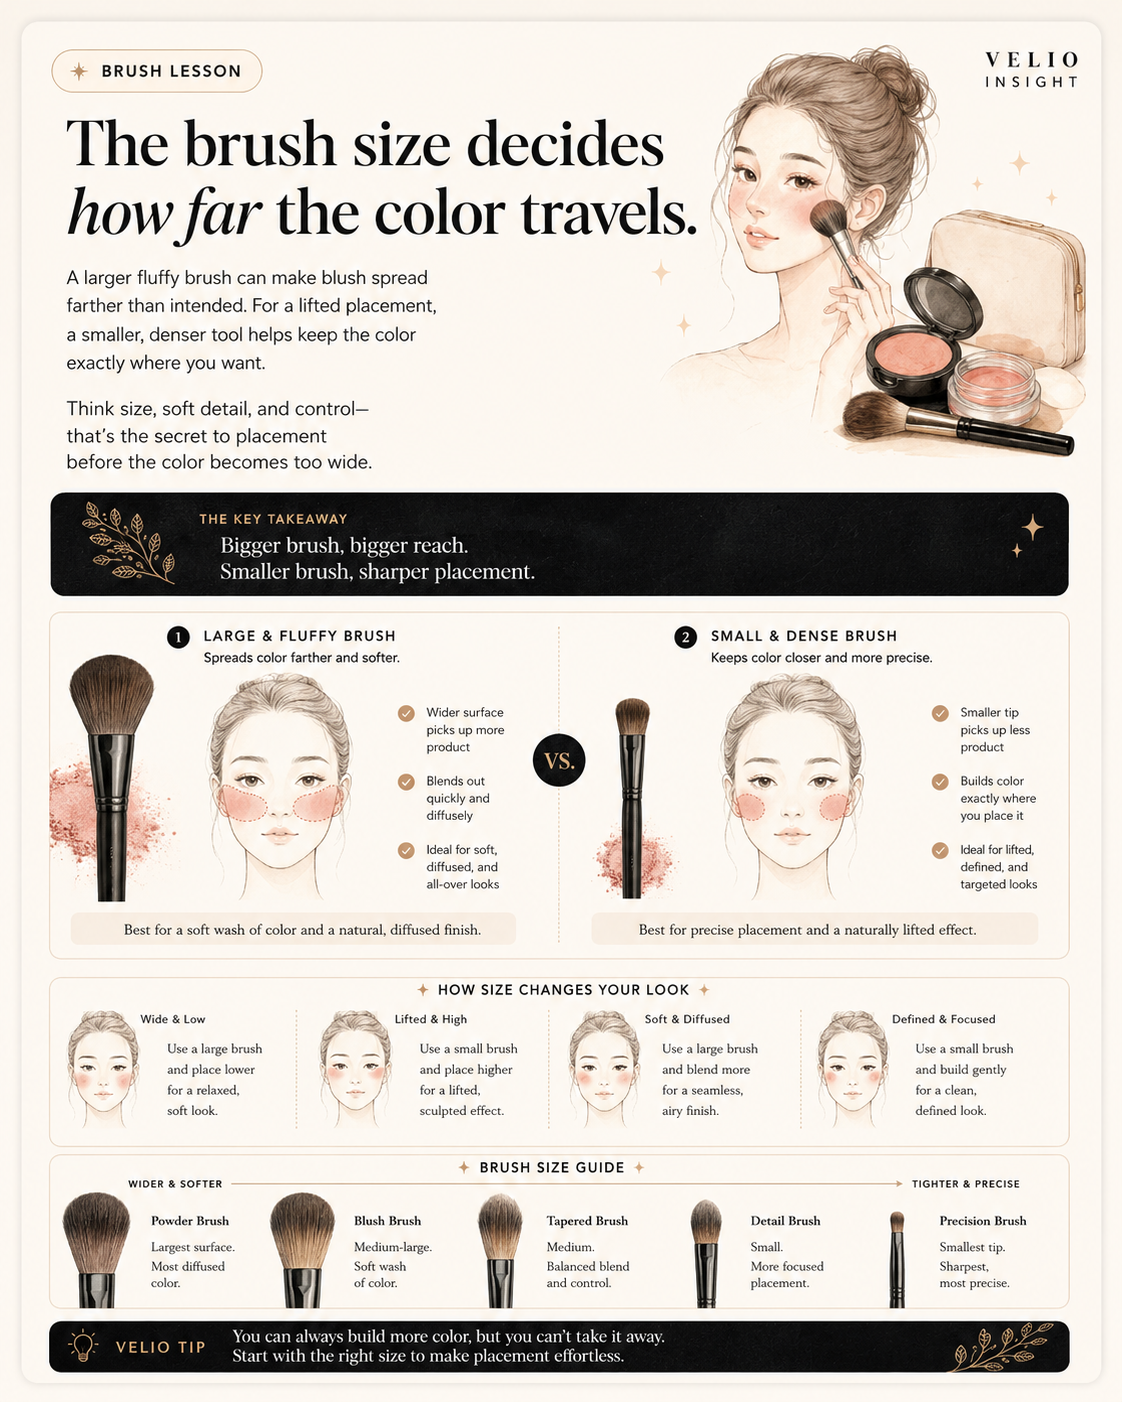
A higher, outward blush route guides the eye upward before more color is added.
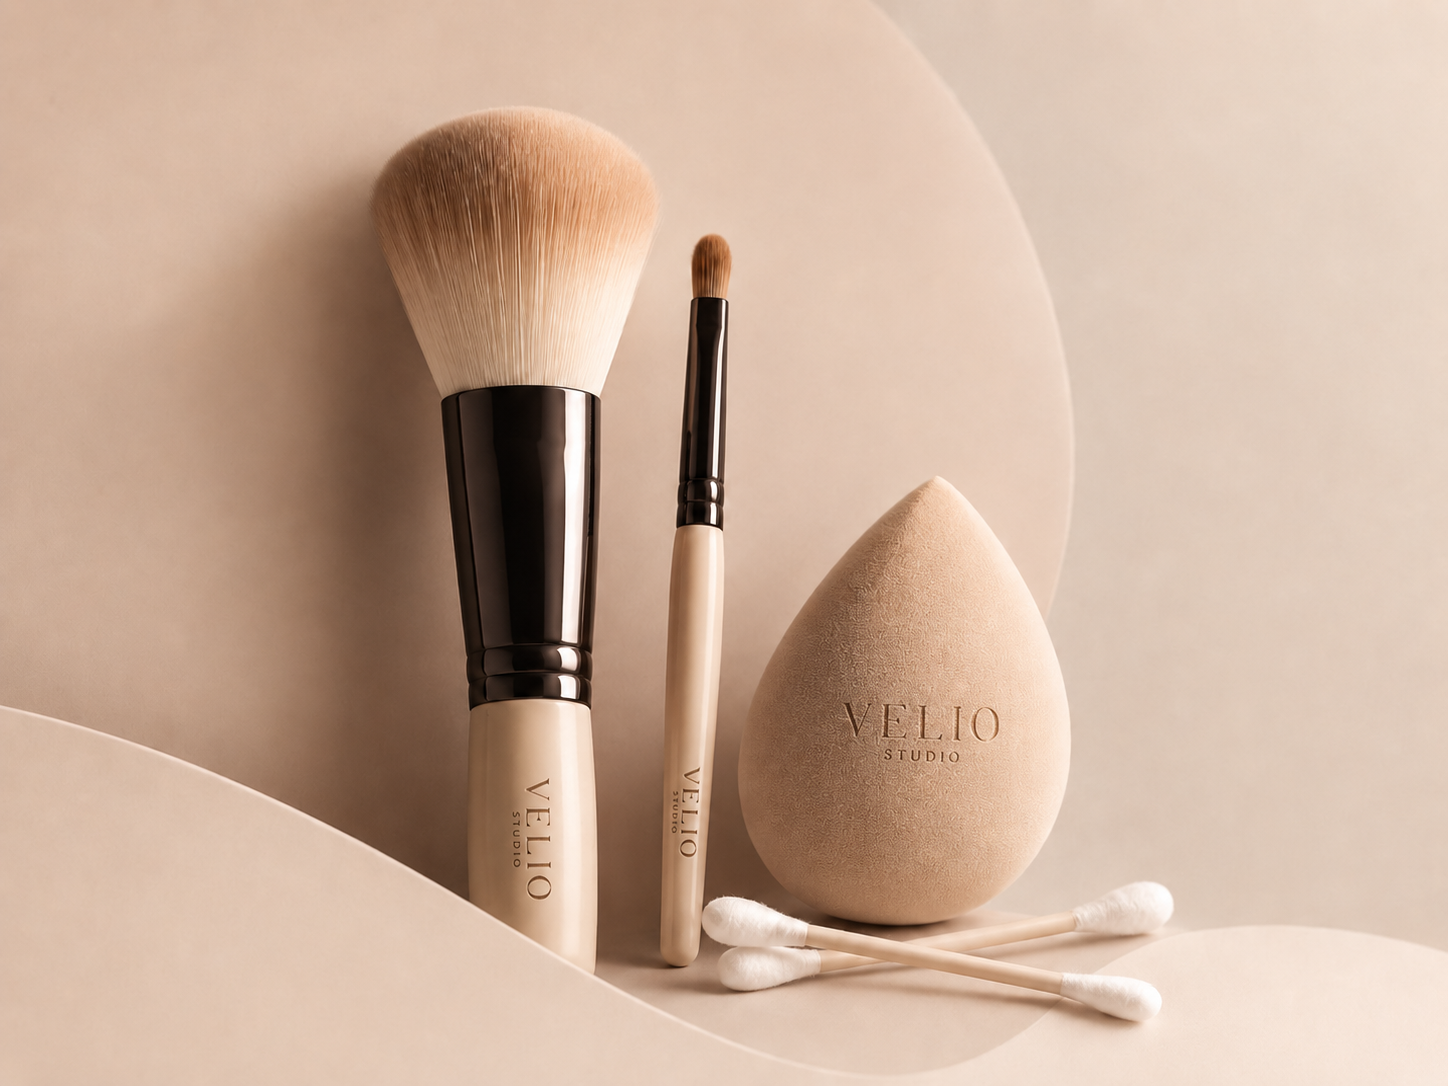
A large fluffy brush can make blush spread faster than intended. For a lifted placement, a smaller soft tool often gives better control, especially near the upper cheek.
This is why Soft detail tools belong in the blush-lift product path. The tool controls the placement before the color becomes too wide.
Identify the changed area, choose the smallest correction, and stop as soon as the surface looks clear again.
Add more pigment because the lift is not visible.
Move the color point and keep the lower edge softer.
Blend blush across the whole cheek automatically.
Use a smaller tool so placement stays intentional.
The color point may be too low, too wide, or too close to the center.
Powder color can sit visibly if the base already has texture or powder weight.
A large brush can spread color beyond the intended lift route.
Use controlled cream color and a smaller soft tool, then blend the edge upward.
Choose cream or liquid color when you want a softer fresh edge.
Keep the strongest point higher and slightly outward.
Use a smaller brush or sponge to avoid over-spreading.
Keep the cheek base soft so color blends without looking muddy.
“Lift is direction before intensity.”
Killian, Mitra & Peissig, Frontiers in Psychology, 2018
Research on regional cosmetic contrast supports the idea that where color appears on the face can change the overall read of the makeup.
Porcheron et al., PLOS ONE, 2013
Facial contrast research helps explain why color intensity, softness, and edge control can change whether a look reads fresh or heavy.
Makeup placement principle
Color can guide the eye when the highest intensity point and blend direction are controlled.
VELIO product direction framework
Cream color and smaller tools make placement easier to repeat and less likely to spread too low.
Place the strongest color point higher and slightly outward, then blend inward softly. Keep the lower cheek clean so the color route travels upward rather than pulling the face down.
Blush can look lower or wider when the color sits too low, spreads too far across the cheek, or starts too close to the center. Placement changes the face faster than shade.
Cream blush can help because the edge is easier to soften into the skin. The key is still placement, tool size, and blend direction, not simply using more pigment.
A smaller soft brush, sponge tip, or controlled cream-color tool can keep the blush route precise and stop color from spreading too low or too wide.
VELIO keeps the lesson attached to the mirror experience, then returns one face-aware Color Story and one practical route. It remains non-diagnostic.
Free first read · Non-diagnostic · Use what you own first
Start with the lesson and your mirror read. Then browse the small product roles that support the same correction without rebuilding the whole routine.
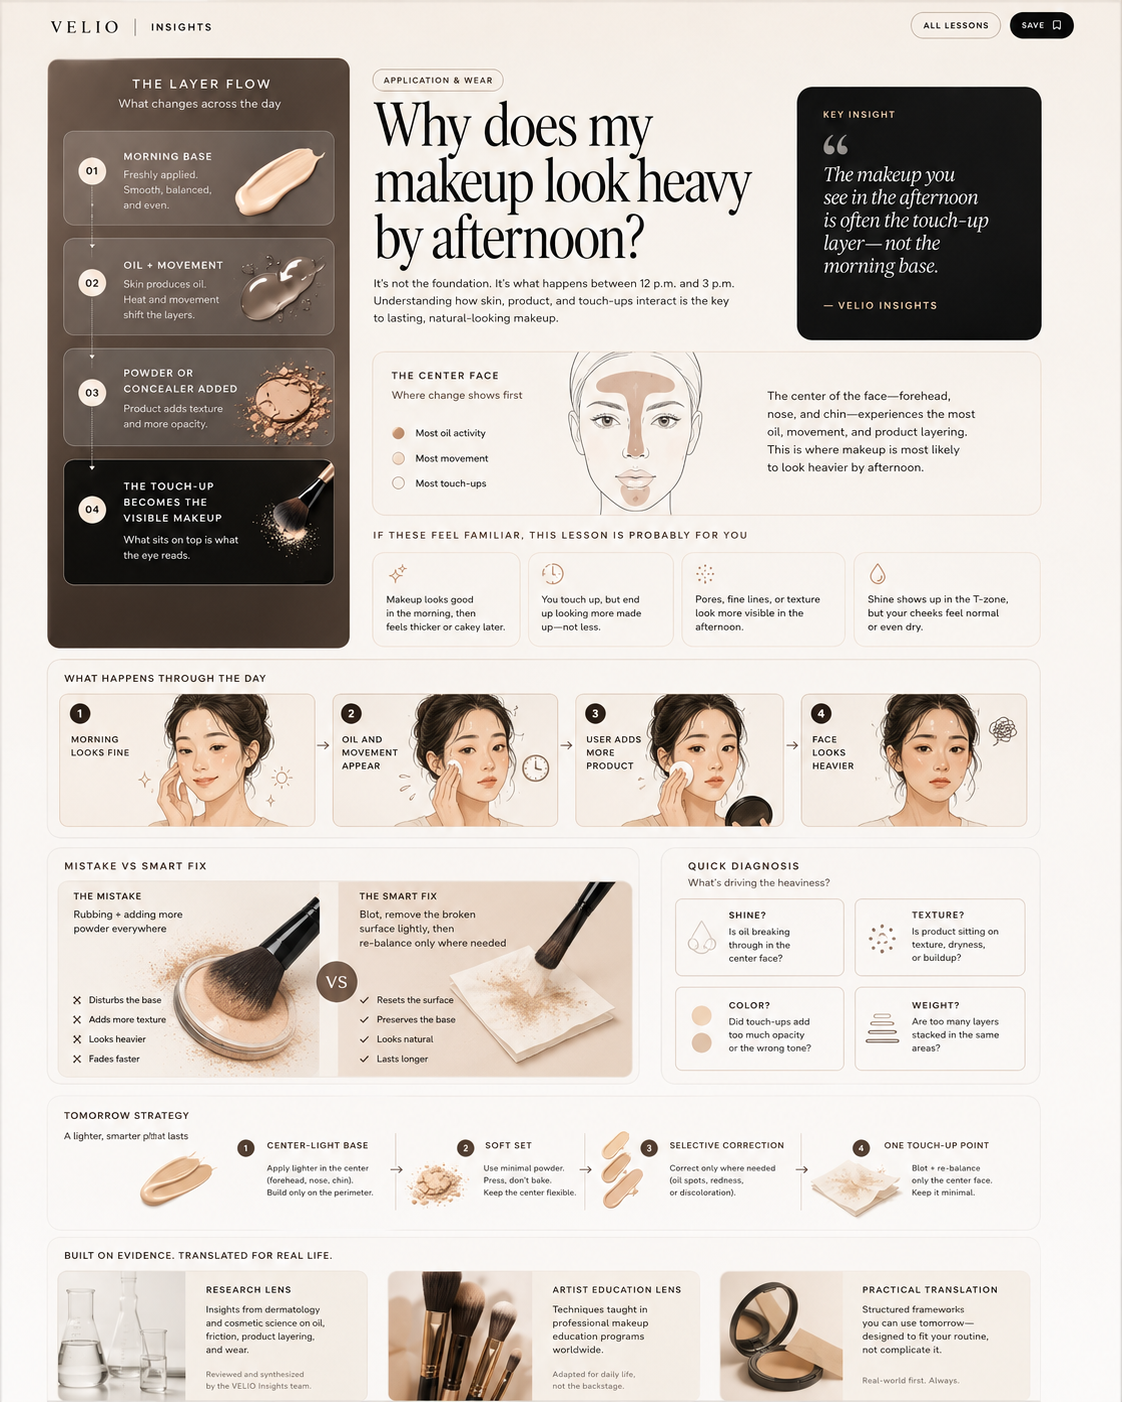
The makeup you see at 3 p.m. is often not the morning base. It is the new top layer created by oil, movement, powder, concealer, and repeated touch-ups.
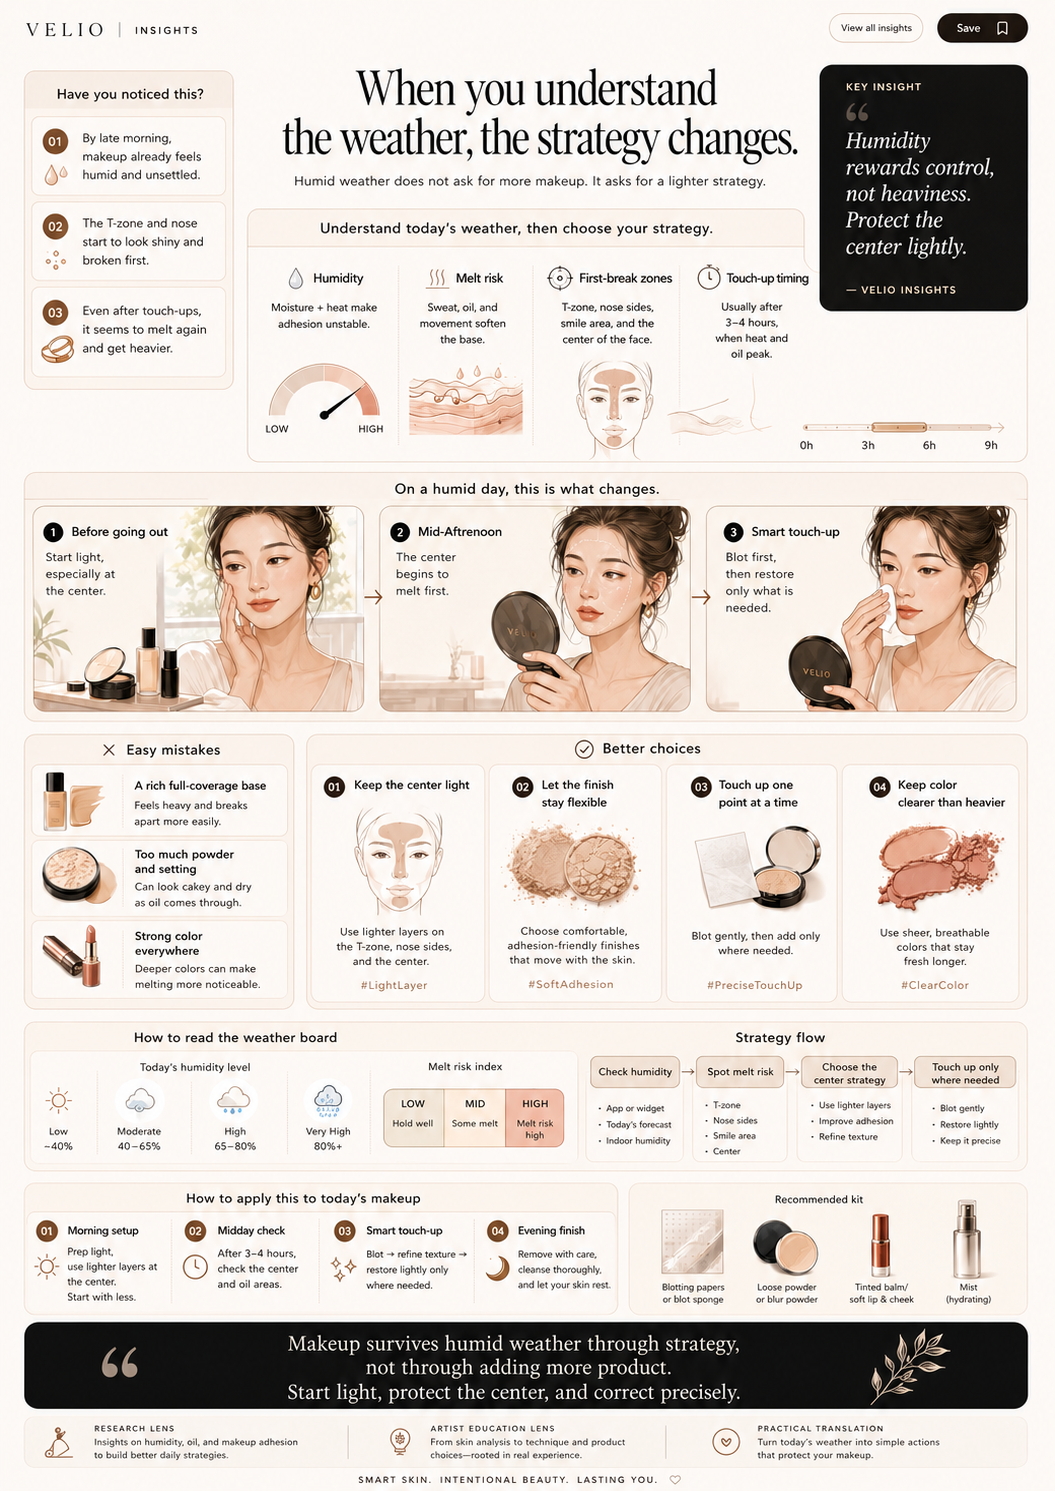
Humidity does not always mean stronger makeup. Often it means fewer layers, clearer finish control, and one planned touch-up point.
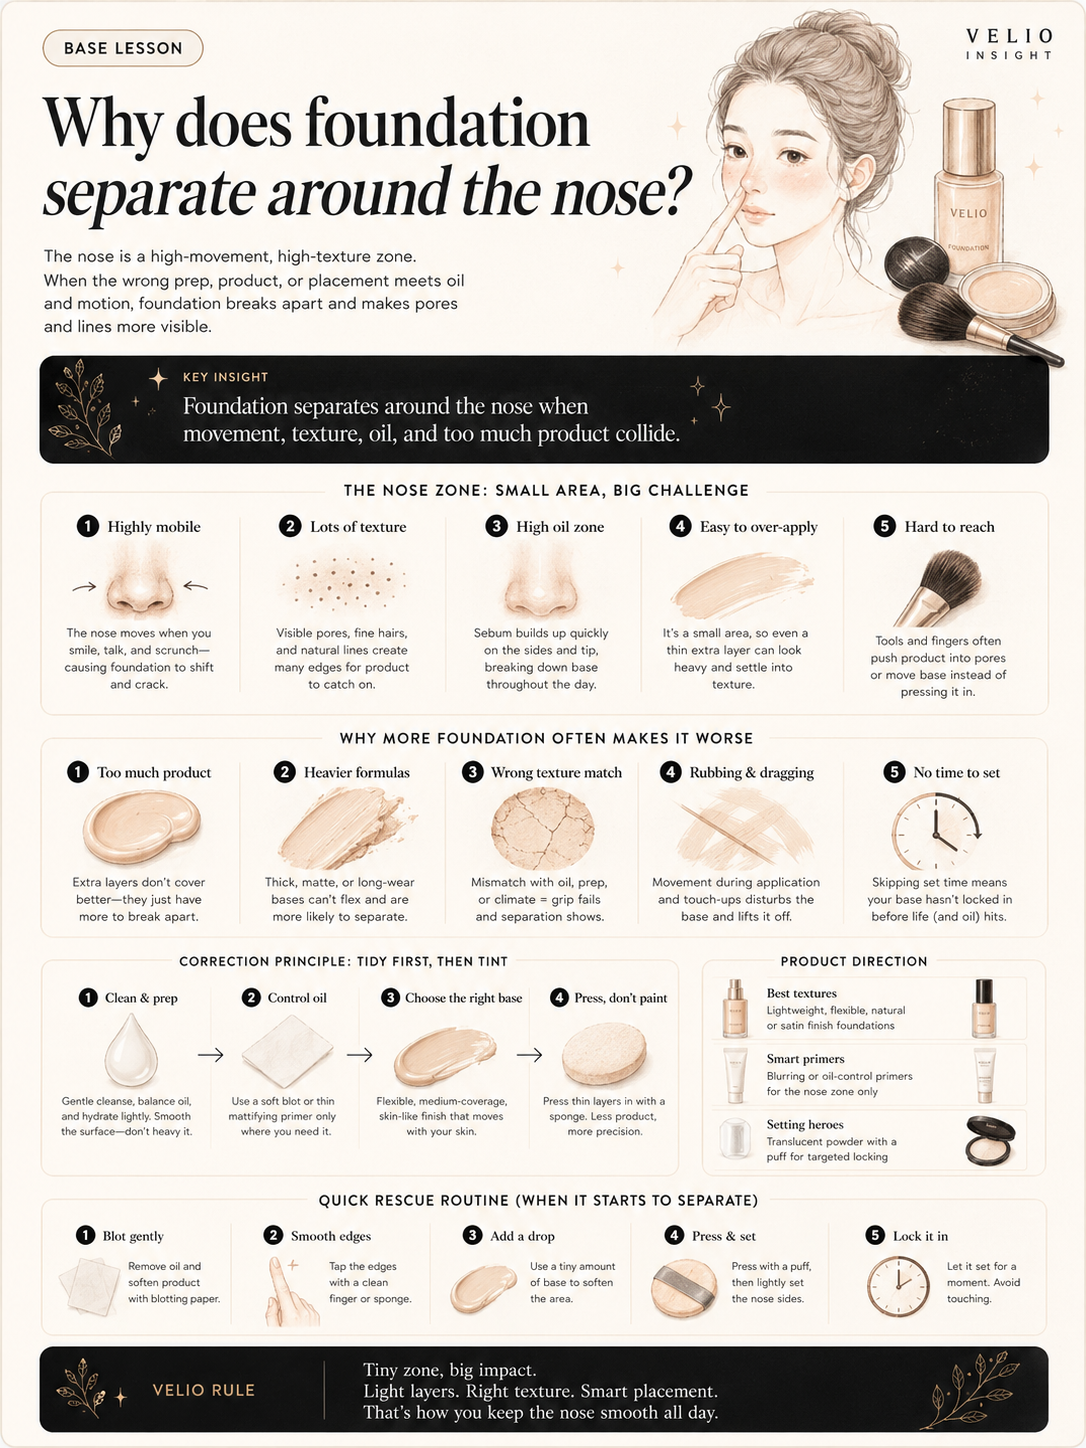
The nose zone is small, warm, and high-movement. Lift the loose layer, flatten the seam, and replace only the coverage that is missing.